Note: The desktop interface is only available on the desktop version of Flipside.
The desktop interface gives a director the ability to controlling cameras from outside of VR, as well as access Flipside's settings.
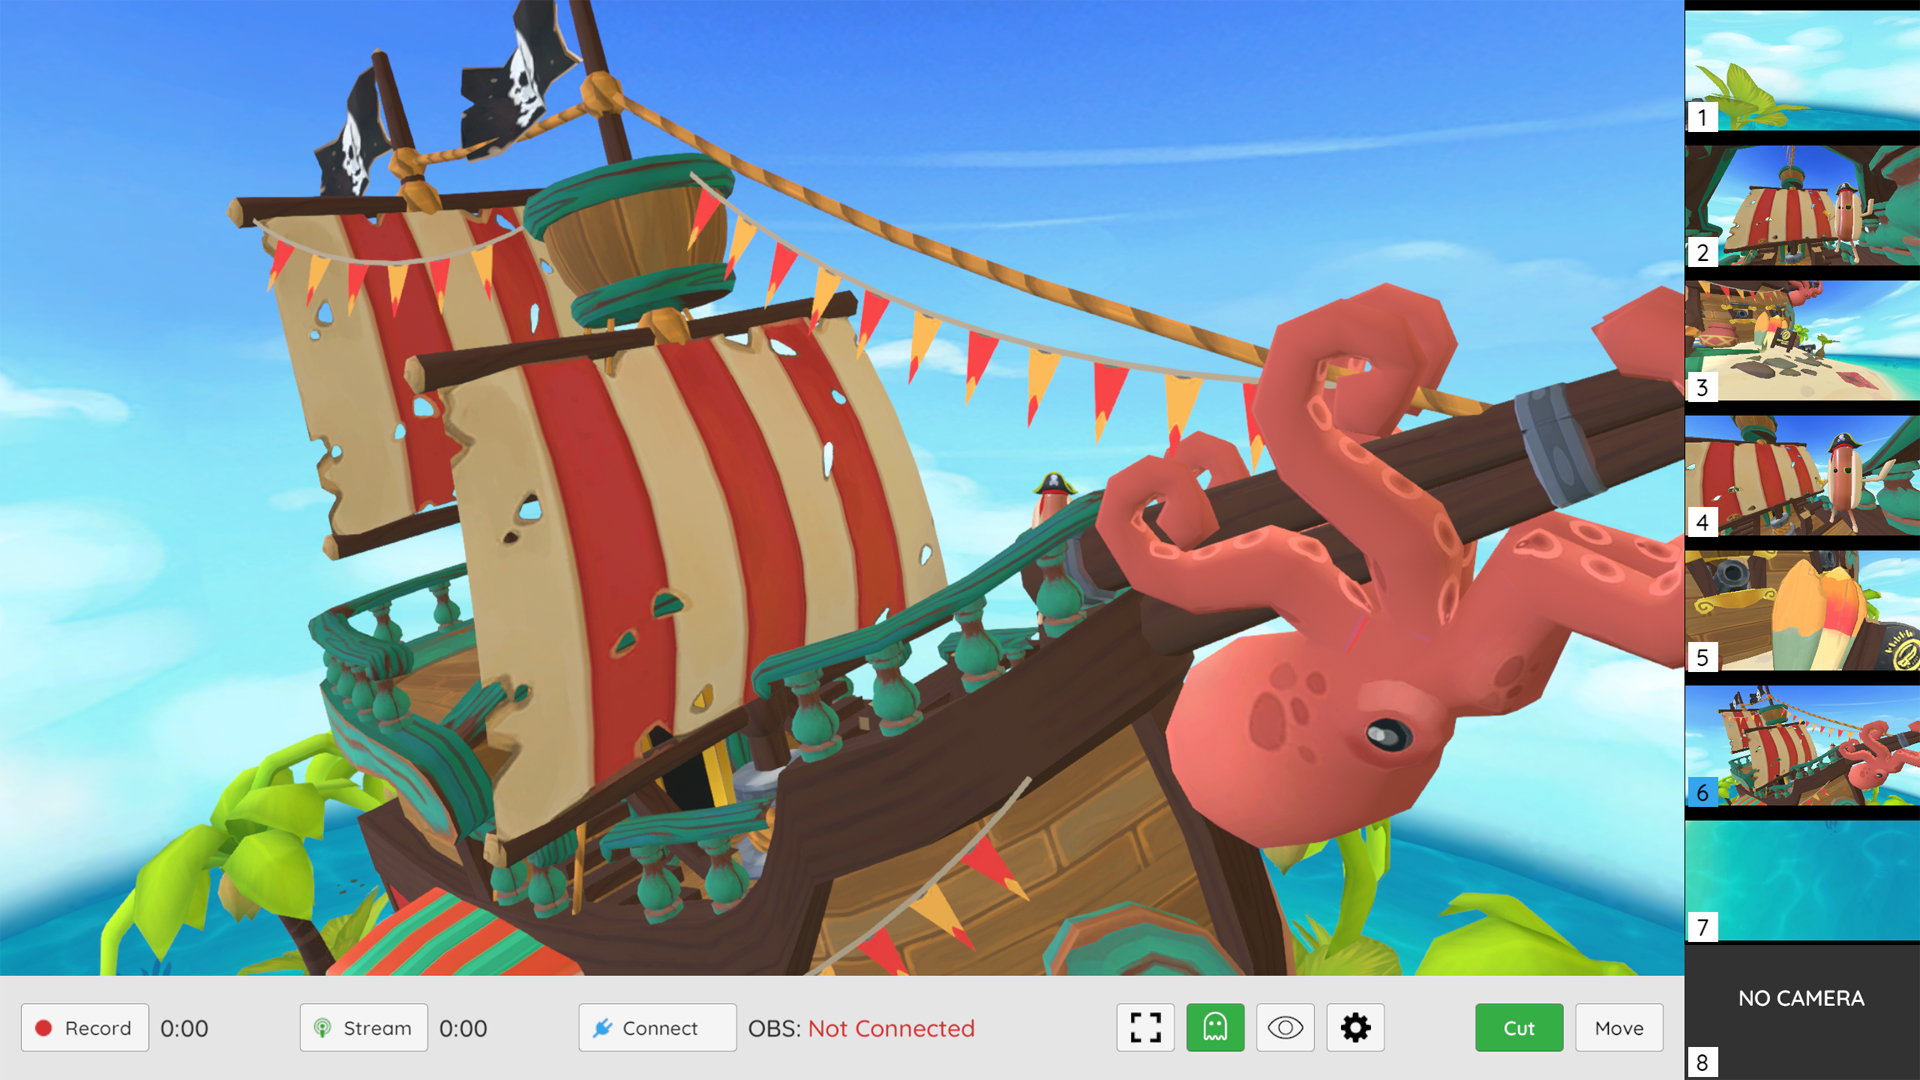
The main window area is your active camera output. Along the bottom are the director controls. On the right are previews for each camera position.
The director controls work with OBS Studio to record and stream shows to platforms like Twitch, YouTube, and others. See setting up OBS Studio for info on how to setup and configure Flipside's OBS integration.
The options on the bottom include:
- Record/Stop Recording - Starts and stops an OBS video recording.
- Stream/Stop Streaming - Starts and stops an OBS livestream.
- Connect/Disconnect - Connects Flipside to OBS. While connected, Flipside is able to control OBS behind-the-scenes.
- Play/Stop - Play or stop playing a loaded take (aka motion capture recording). Note: Visible only when a take is loaded.
- Take Name - Shows the currently loaded take name. Note: Visible only when a take is loaded.
- Fullscreen - Hides the desktop interface so you can stream or capture the full screen output.
- Visibility - Toggle the visibility of the in-VR user.
- Show/Hide UI - Shows or hides the Flipside user interface from cameras. Useful for recording tutorials or playthroughs.
- Settings - Opens the settings window.
- Cut - Sets the active camera transition to cut from one position to another.
- Move - Sets the active camera transition to move from one position to another.
Exiting fullscreen
While in fullscreen, you can press Esc to bring the desktop interface back into view.
If you move your mouse over the window while in fullscreen, a notice will appear along the top that says "Press Esc to exit fullscreen".
Next: Settings


 Join the Community