

- by John Luxford
In this tutorial post, we will show you how to prepare an Adobe Fuse character model for importing into Flipside Studio.
Adobe Fuse is a 3D modeling app that makes it easy to create unique human characters in minutes, without having to be an experienced 3D artist.
This tutorial assumes you have installed and setup both Adobe Fuse as well as the Flipside Creator Tools.
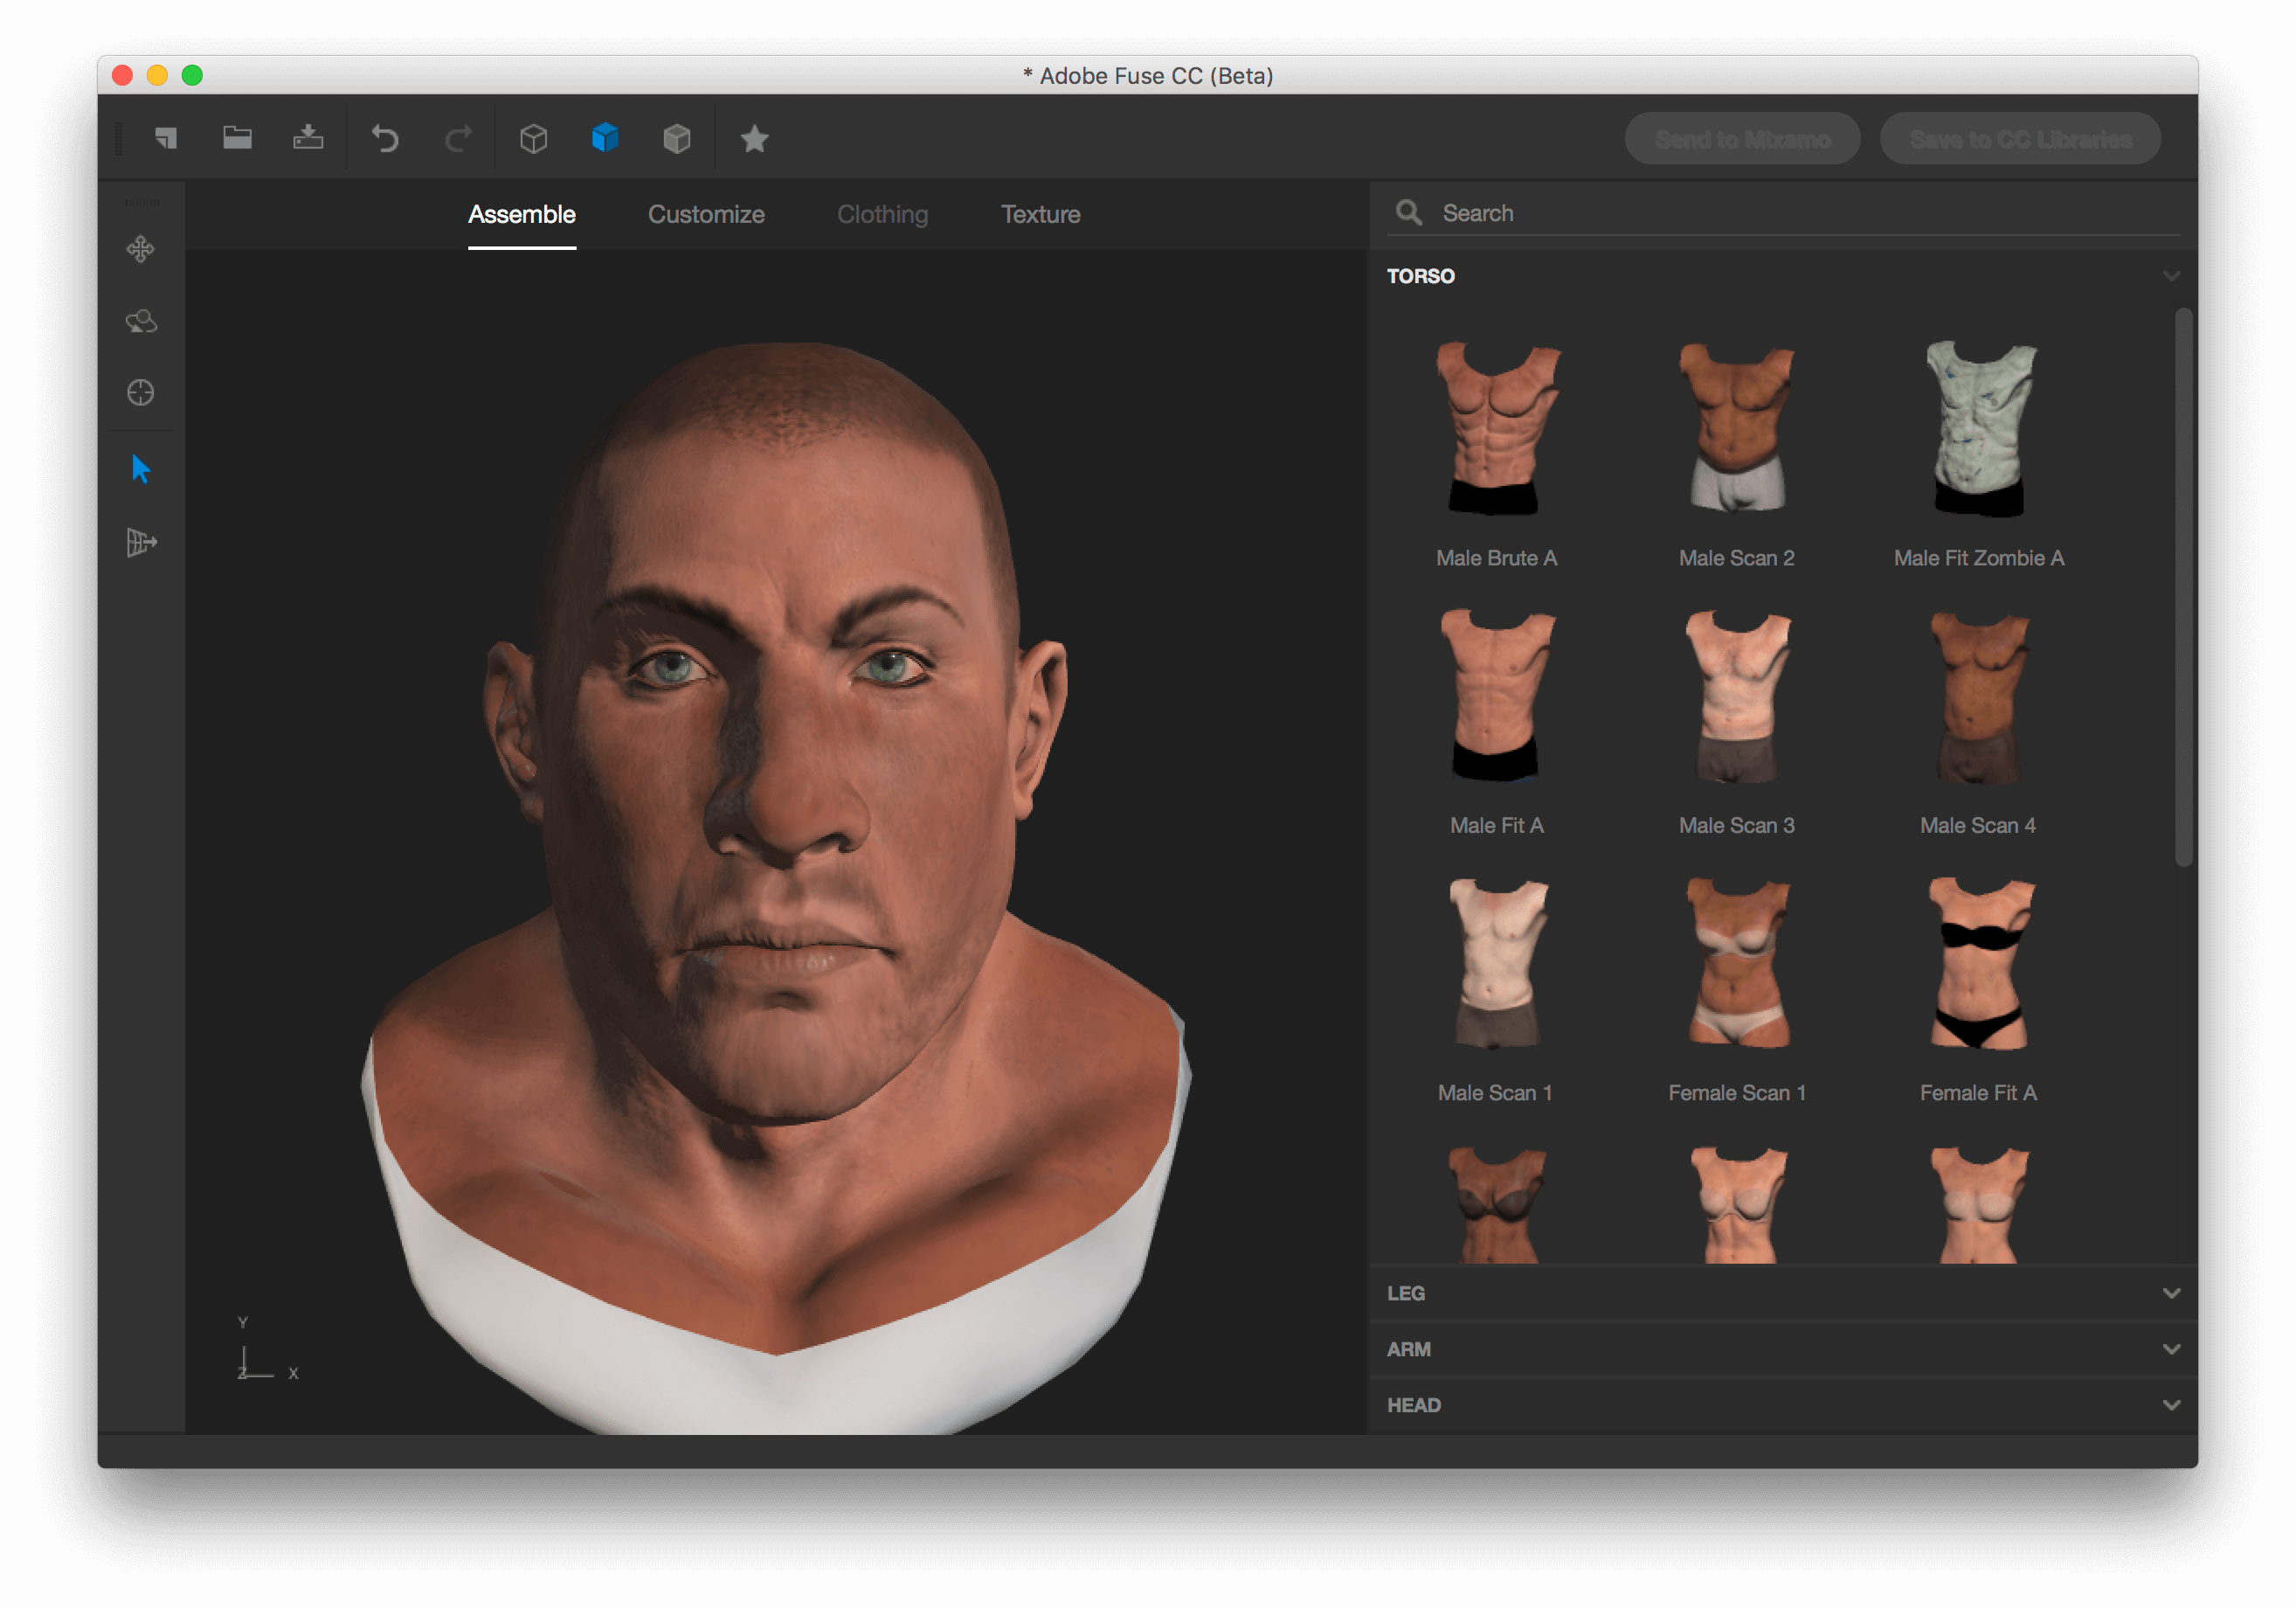
Launch the Adobe Fuse app and create a new character by choosing File > New Model.
To build your character, under the Assemble tab, first choose a head from the list on the right, followed by a torso, legs, and arms.
Next, click on the Customize tab to reveal the available customization options. Feel free to modify these to your liking.
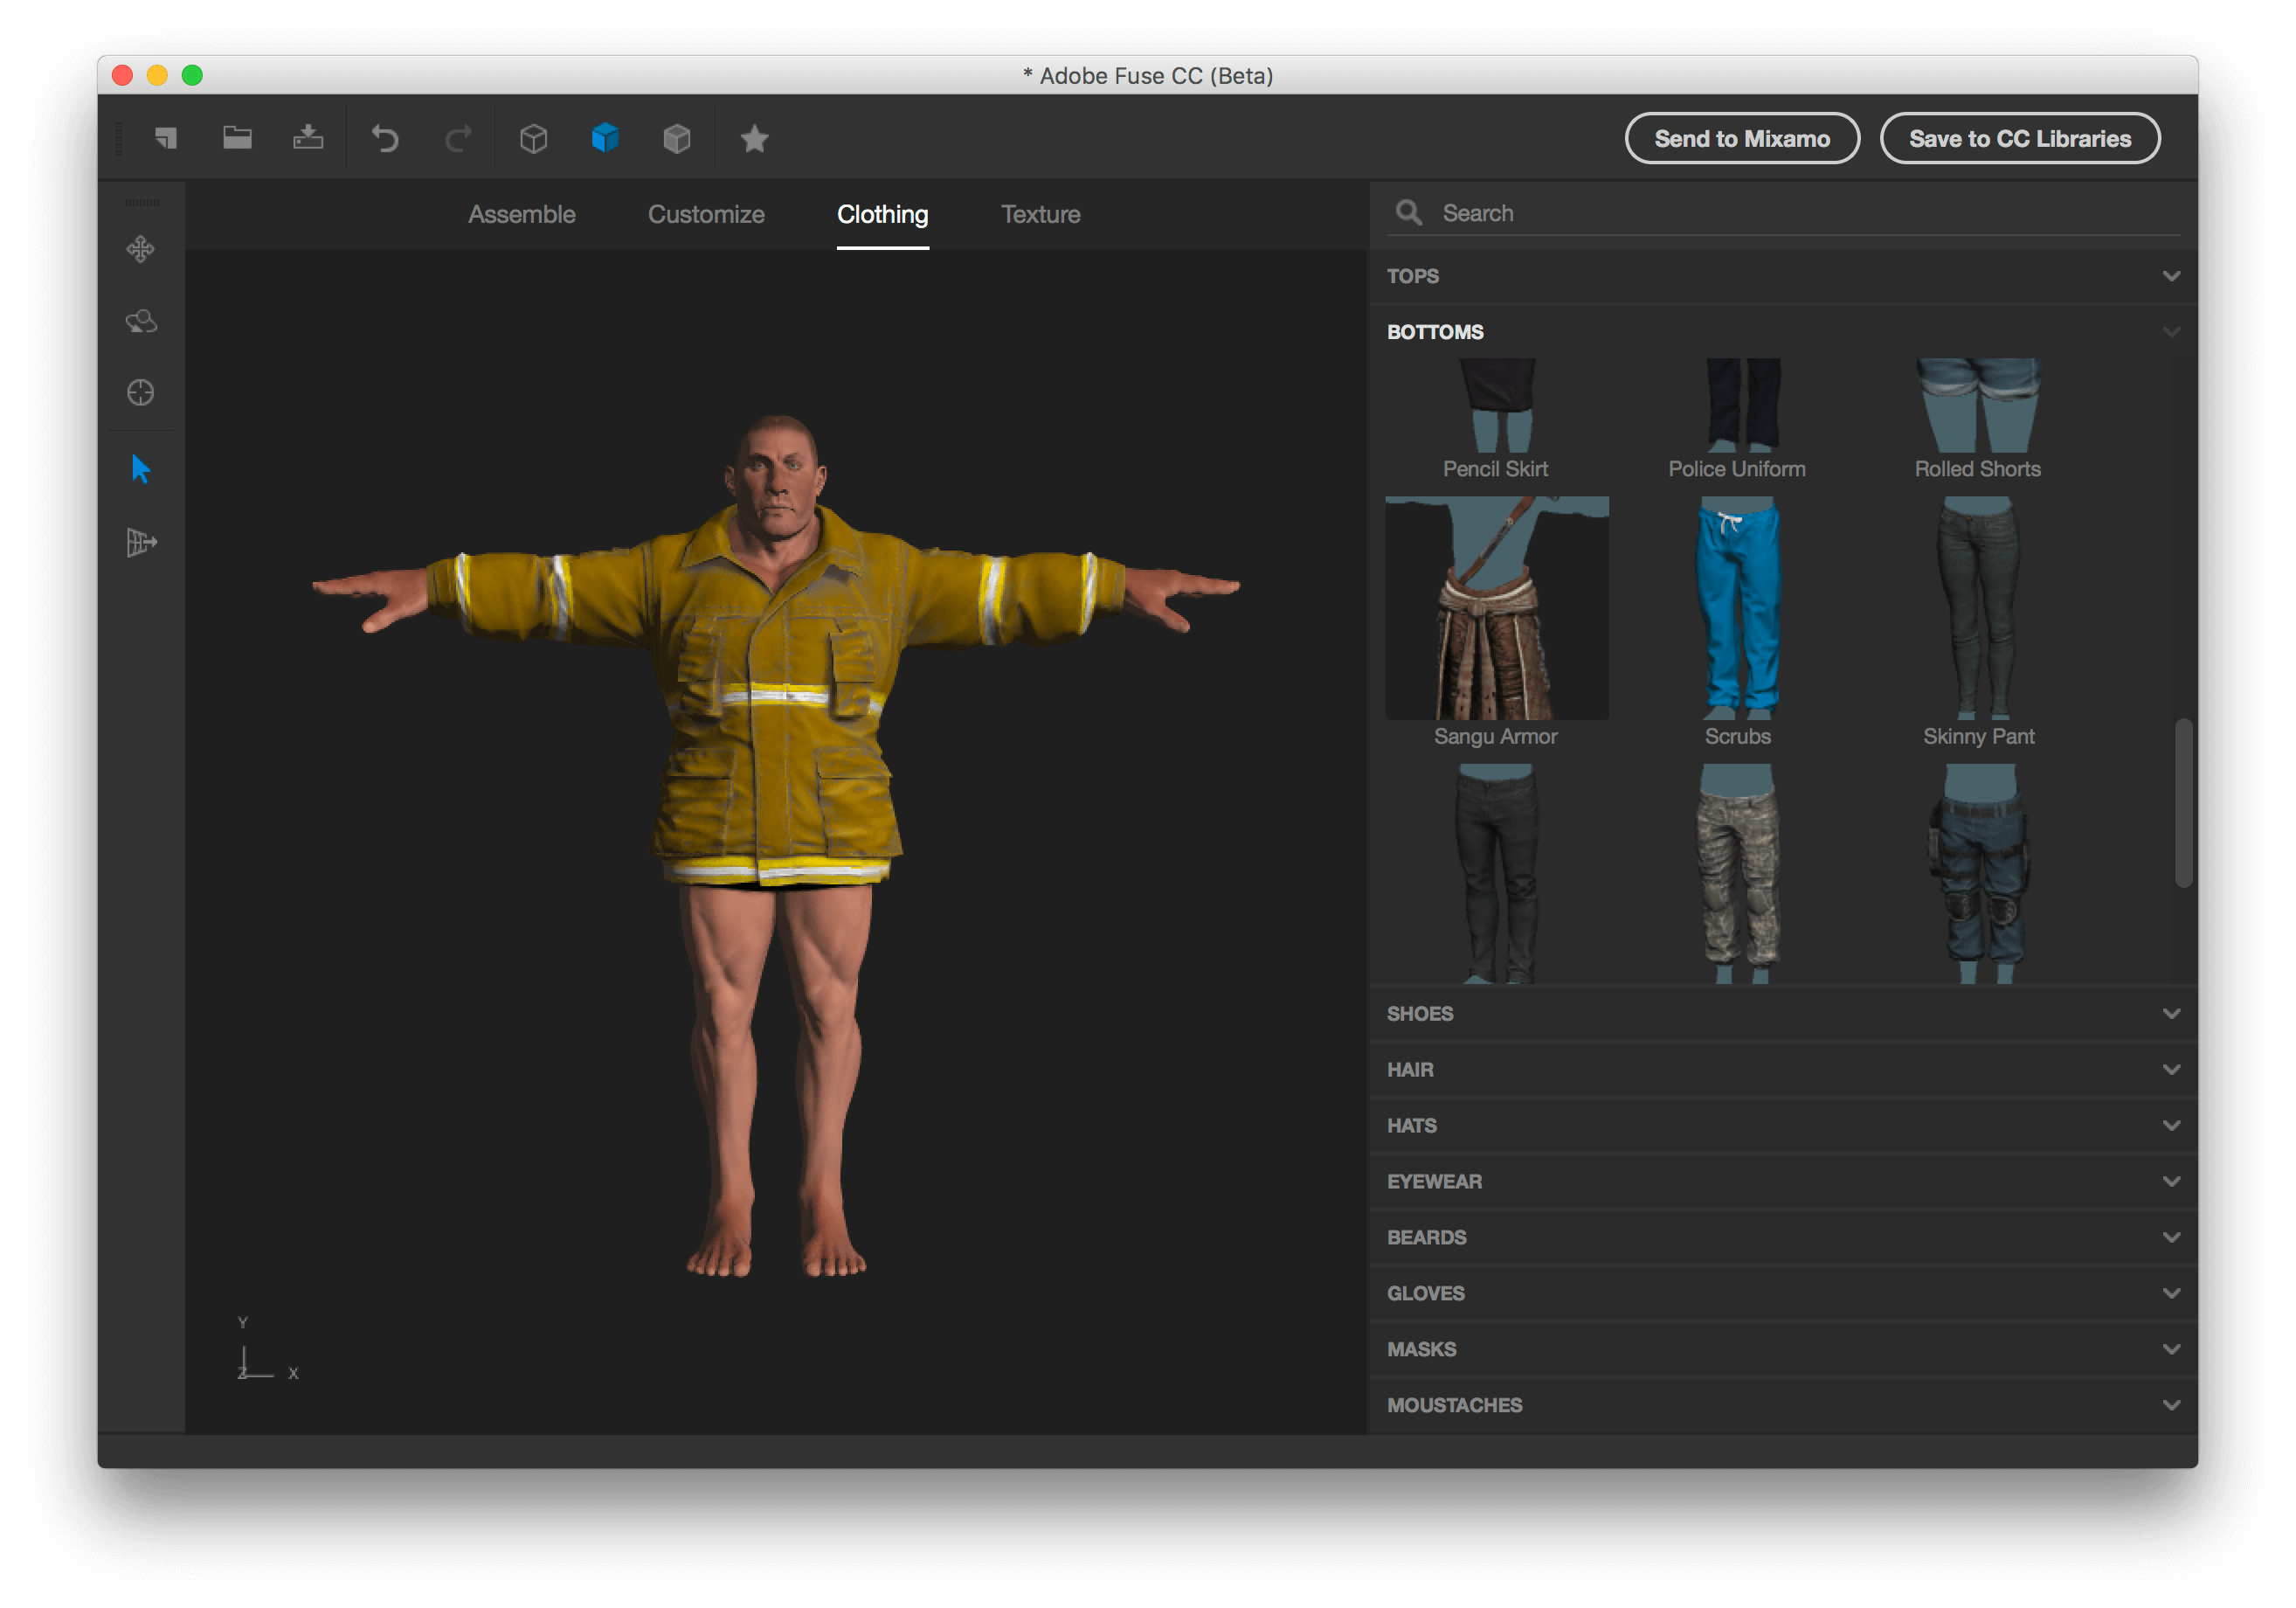
Next, click on the Clothing tab to choose the clothing for your character. You can choose from a variety of tops, bottoms, shoes, hair, hats, and more.
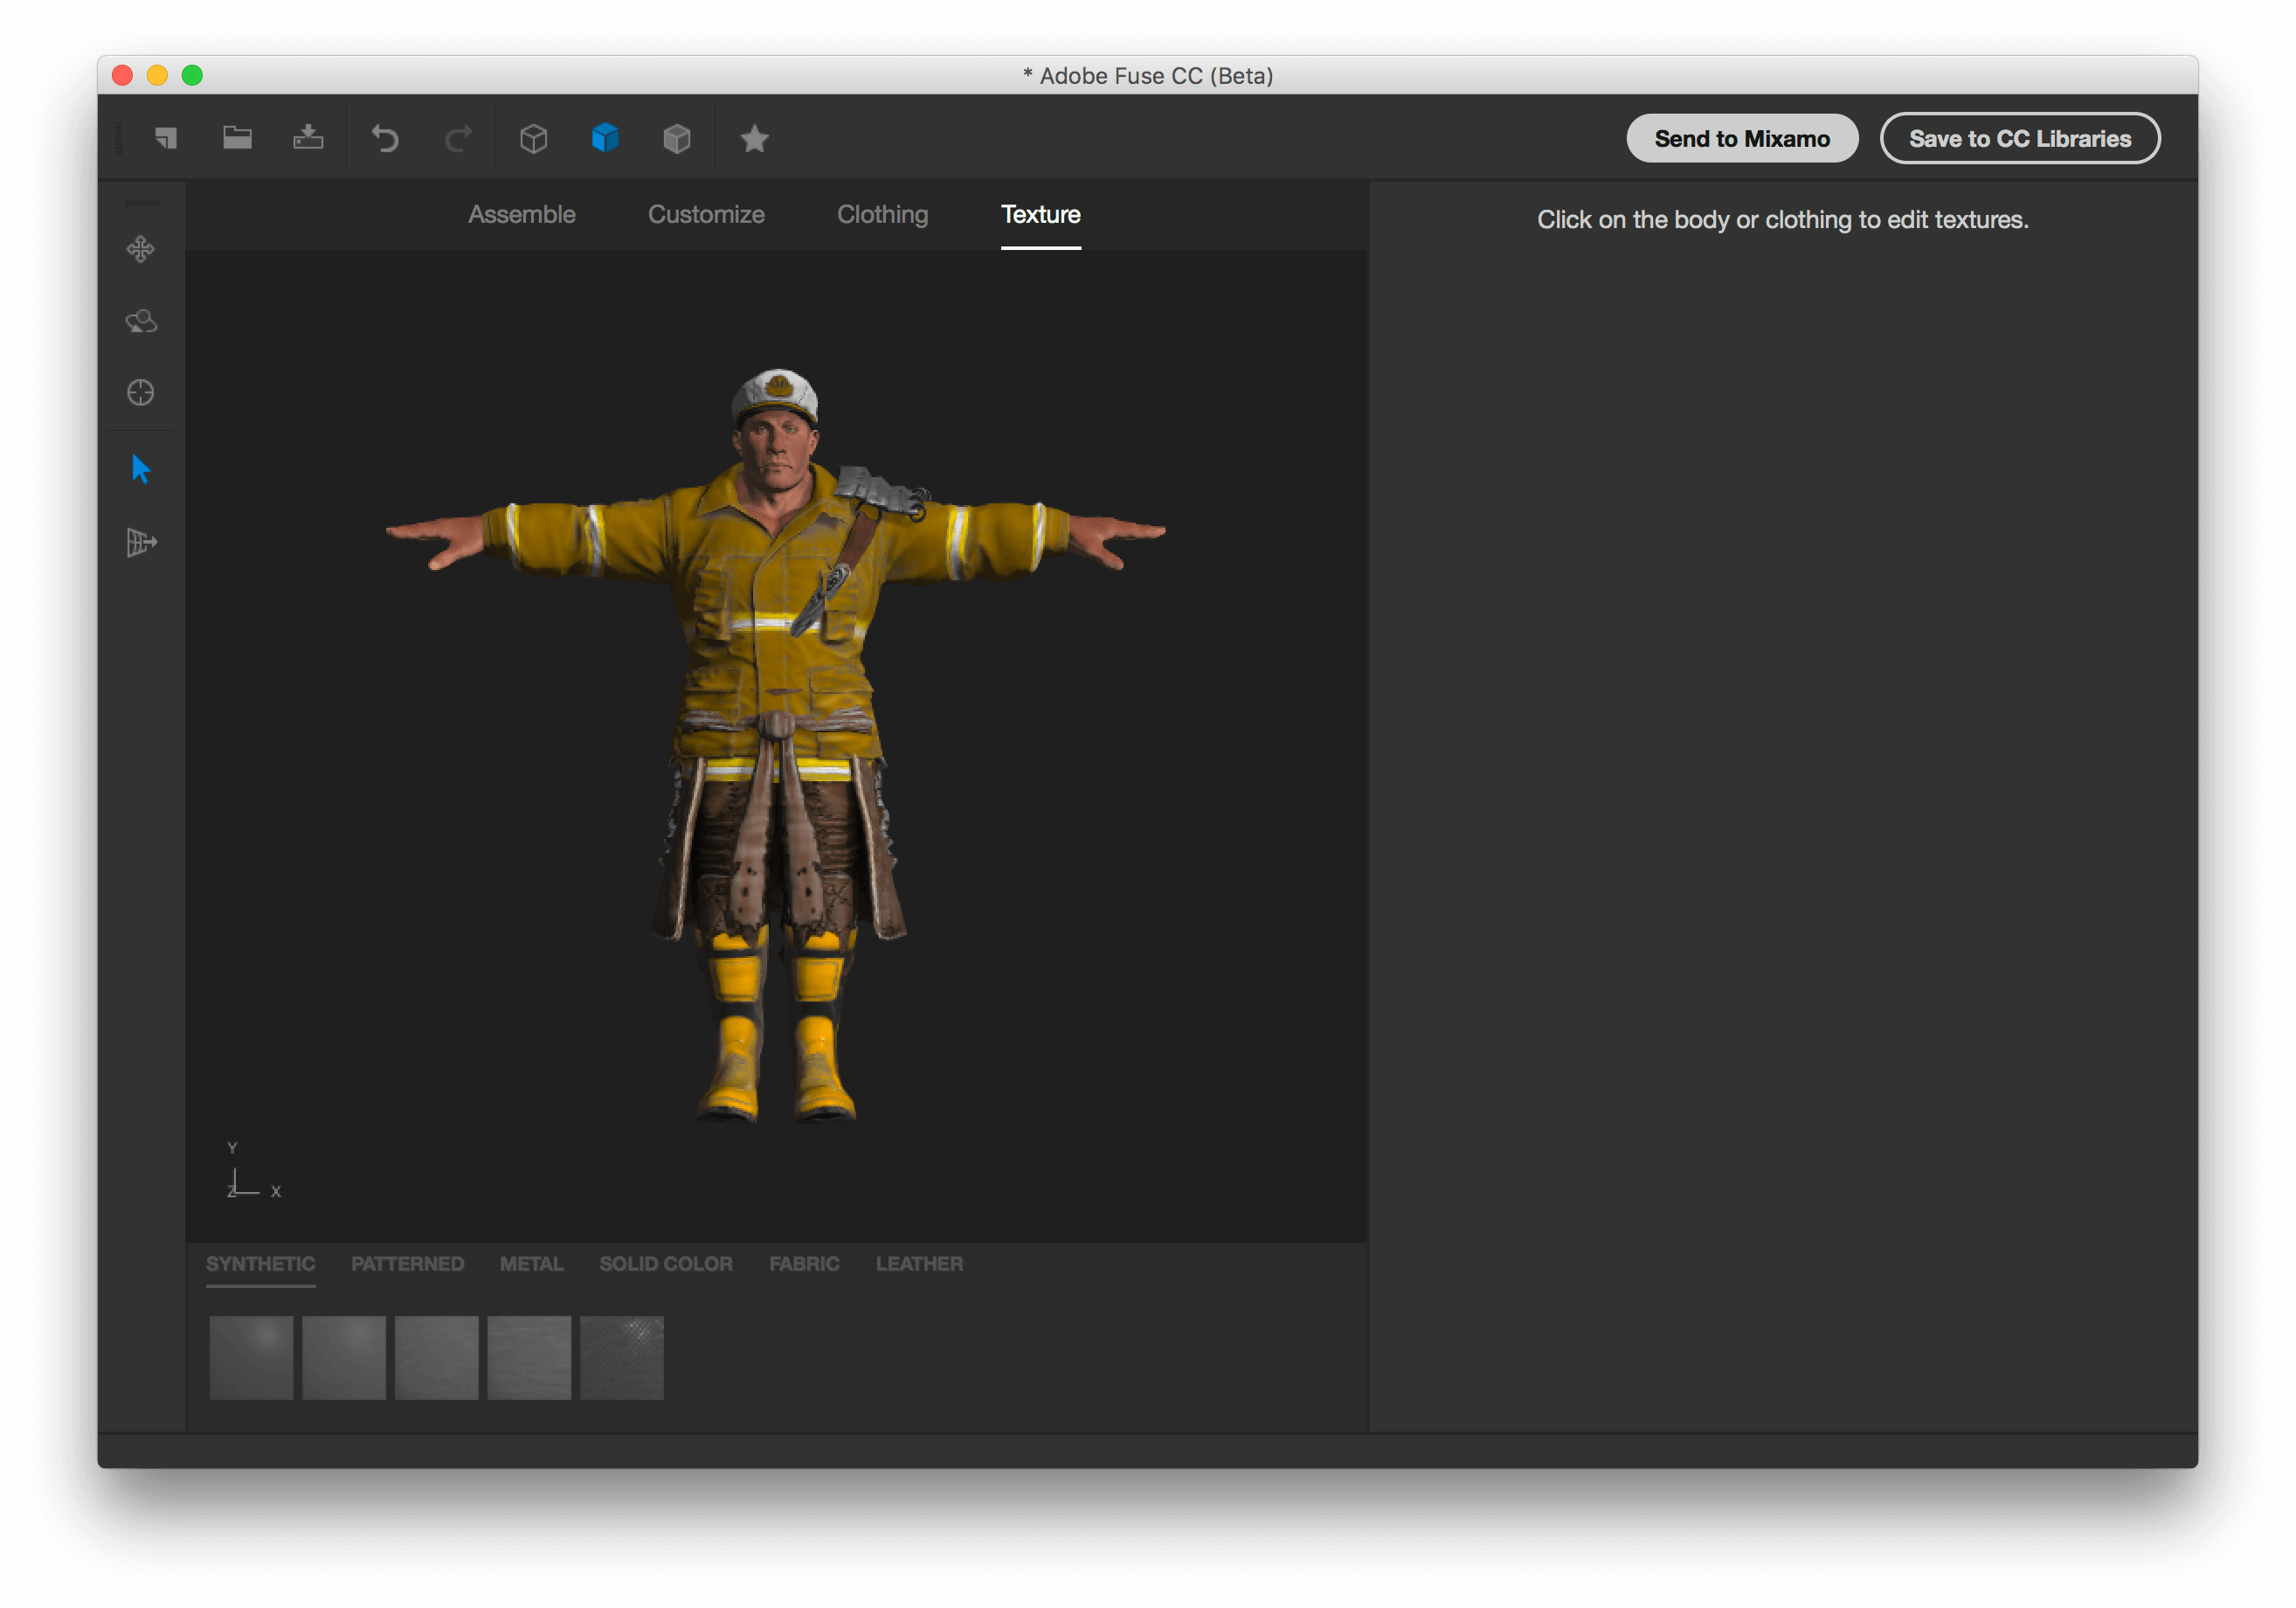
Lastly, click on the Texture tab to modify the textures on your character. This lets you control all aspects of your character's textures and how they look and feel.
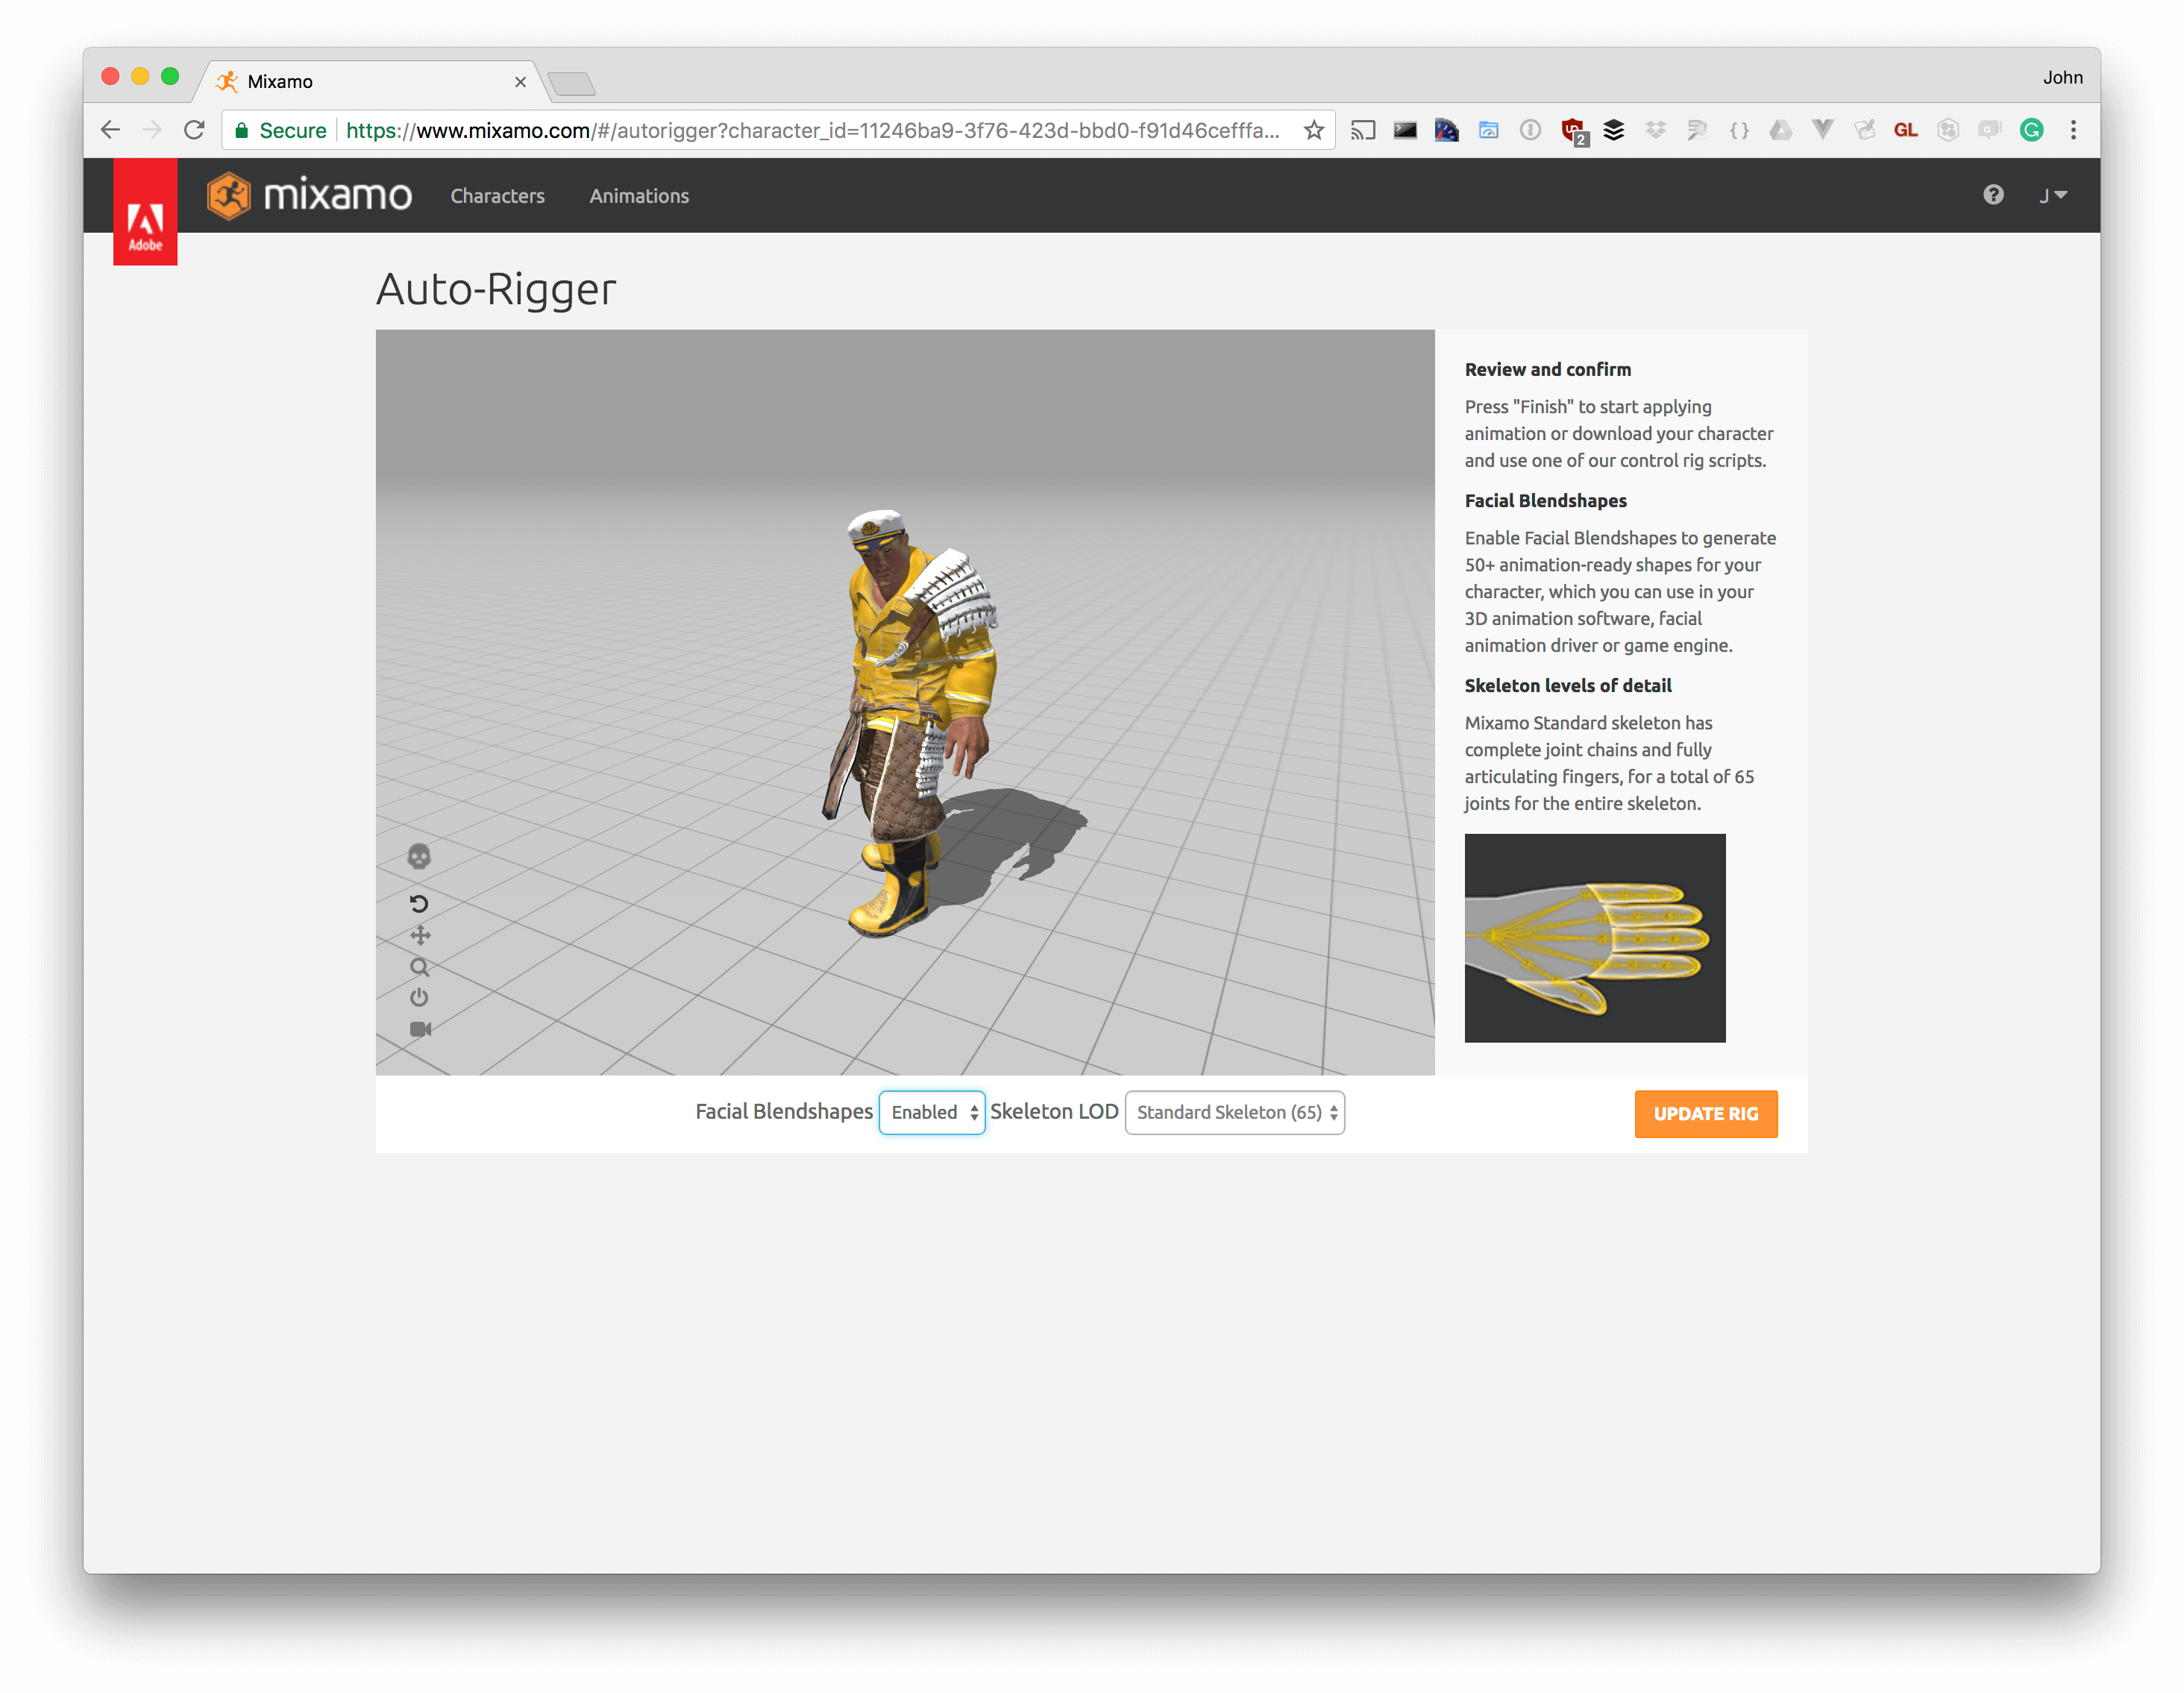
To finish the rigging stage of our new character, Fuse relies on another Adobe product called Mixamo. When Fuse sends your character to Mixamo, it will automatically rig your character for you, but before completing the import process there is one setting you will need to change.
To send your character from Fuse to Mixamo, click on the Send to Mixamo button in the top right corner. This may take some time to process in both applications, so you'll need to wait for the exporting and importing processes to finish before continuing.
When you see your character animated in the Mixamo Auto-Rigger, before clicking Finish, change the Facial Blendshapes setting to Enabled. This ensures that your character's facial expressions can be connected to Flipside Studio's facial expressions and lip syncing capabilities.
After clicking Finish, Mixamo may show a "Proceed with this new character?" warning. Click on the Use This Character button to proceed.
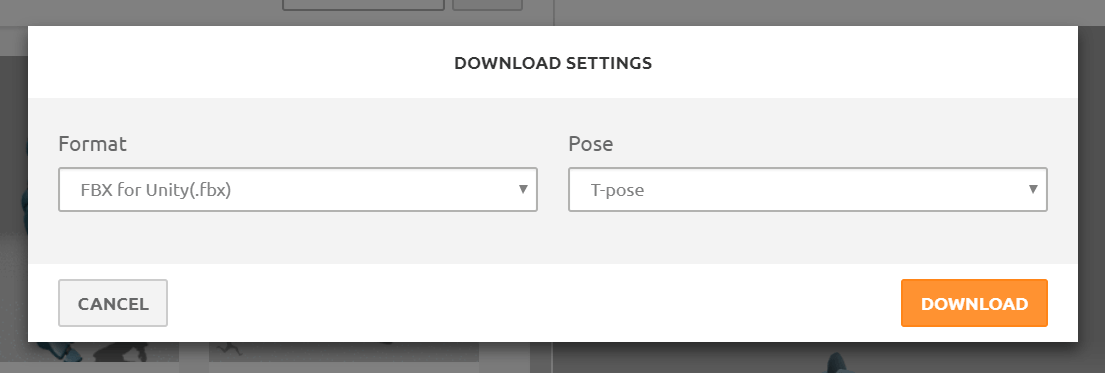
You will now be shown a page with two download options. Make sure to choose the download option for 3D Software, and not the option for game engines.
When Mixamo asks you to choose your download settings, leave the default options as is.
You are now ready to import your character into the Flipside Creator Tools! Here are some links to guide you through the next steps:
 Join the Community
Join the Community
Join the Community