

- by John Luxford
In this tutorial post, we will show you how to use Adobe Mixamo to rig a custom character model for importing into Flipside Studio.
Rigging is the process of creating a skeleton for a 3D model that determines how it can move. Mixamo is a free tool that helps automate the process of rigging 3D character models.
This tutorial assumes you have installed and setup the Flipside Creator Tools. It also assumes you have registered for an Adobe account, which you can do on the Mixamo website.
For this tutorial, we're going to use the Iron Giant character from Google Poly. Click on the Download link and choose OBJ file to download the character model. This will download a zip file of the character model, its materials, and any associated texture images.
"Iron Giant" by Steve P is licensed under CC BY 2.0.
You can upload the zip file directly to Mixamo, but if you want to explore what it contains you can unzip the downloaded file by right-clicking it in Windows Explorer and choosing Extract All. You should have an unzipped folder containing two files:
Some characters will also include one or more images that are the material file uses as textures on the model. In this case, there's just the two files.
Log into the Mixamo website, then click on the Upload Character button on the right. Select the zip file of your character model and click Next. After the upload is processed, you should see the following screen:
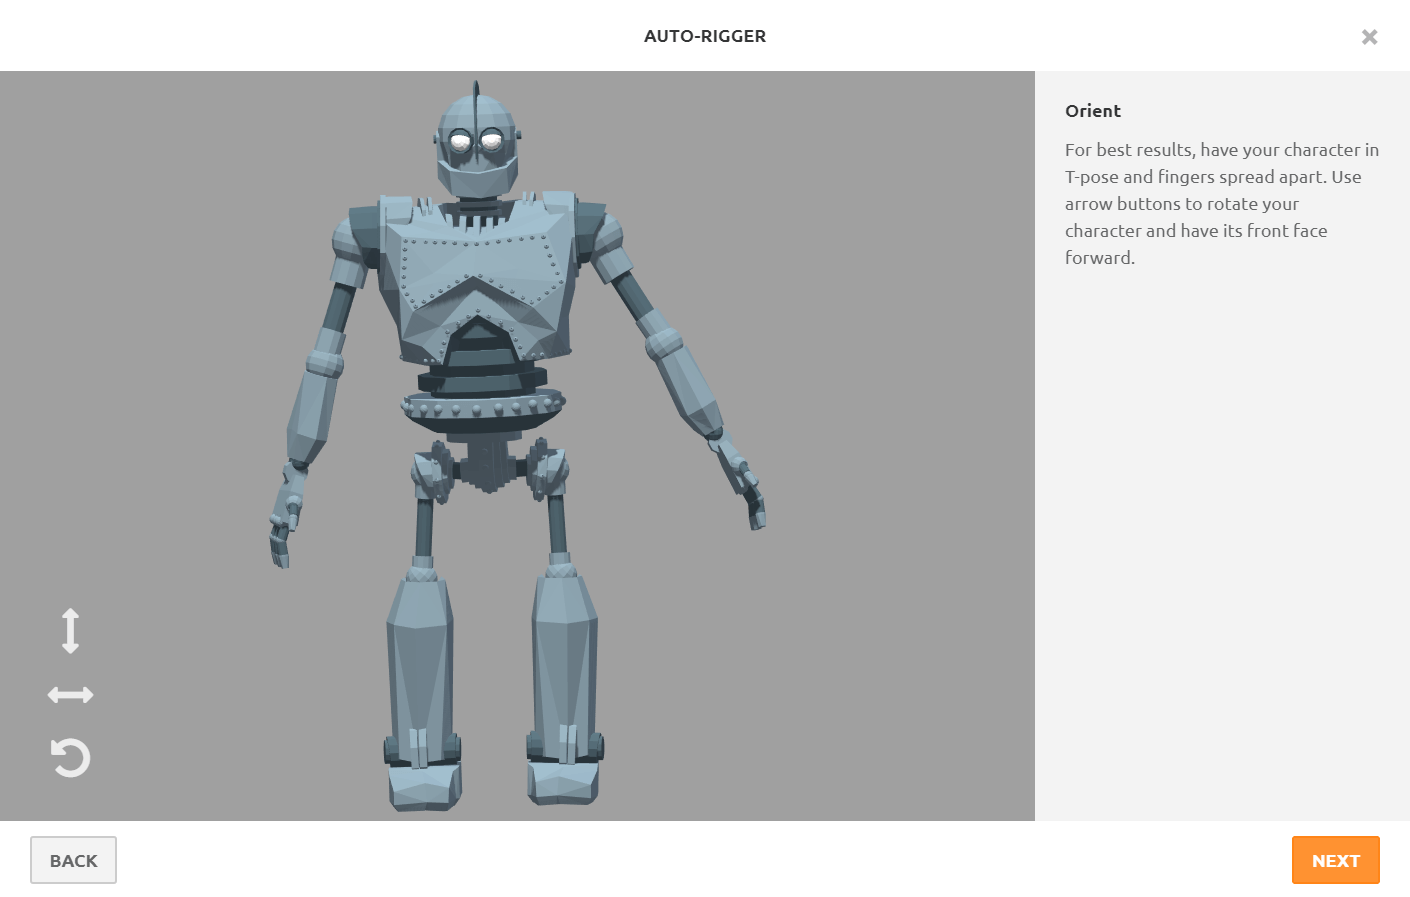
If you need to rotate your character so it's facing the front, use the left-right arrow button in the bottom left corner. Click Next to continue when your character is upright and facing forward. This will take you to the Auto-Rigger screen below.
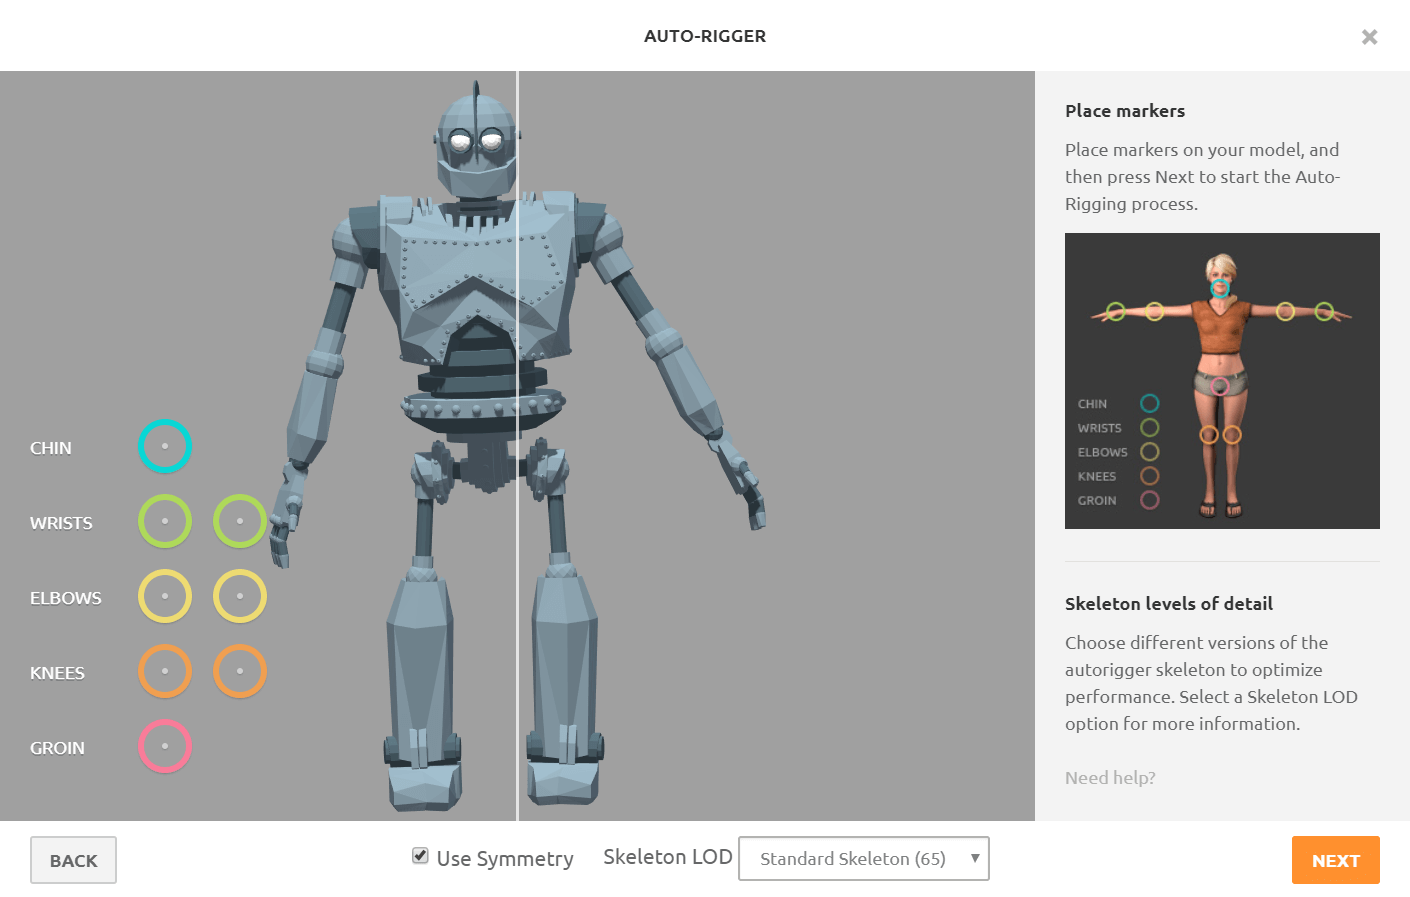
First, uncheck the Use Symmetry checkbox, because this character model is not symmetrical.
It should also be noted here that characters will work best if they are in a T-pose with the palms facing down, however Mixamo does a pretty good job in many cases with models in various poses.
Now drag each circle on the left to its corresponding point on your character. When you're finished it should look like this:
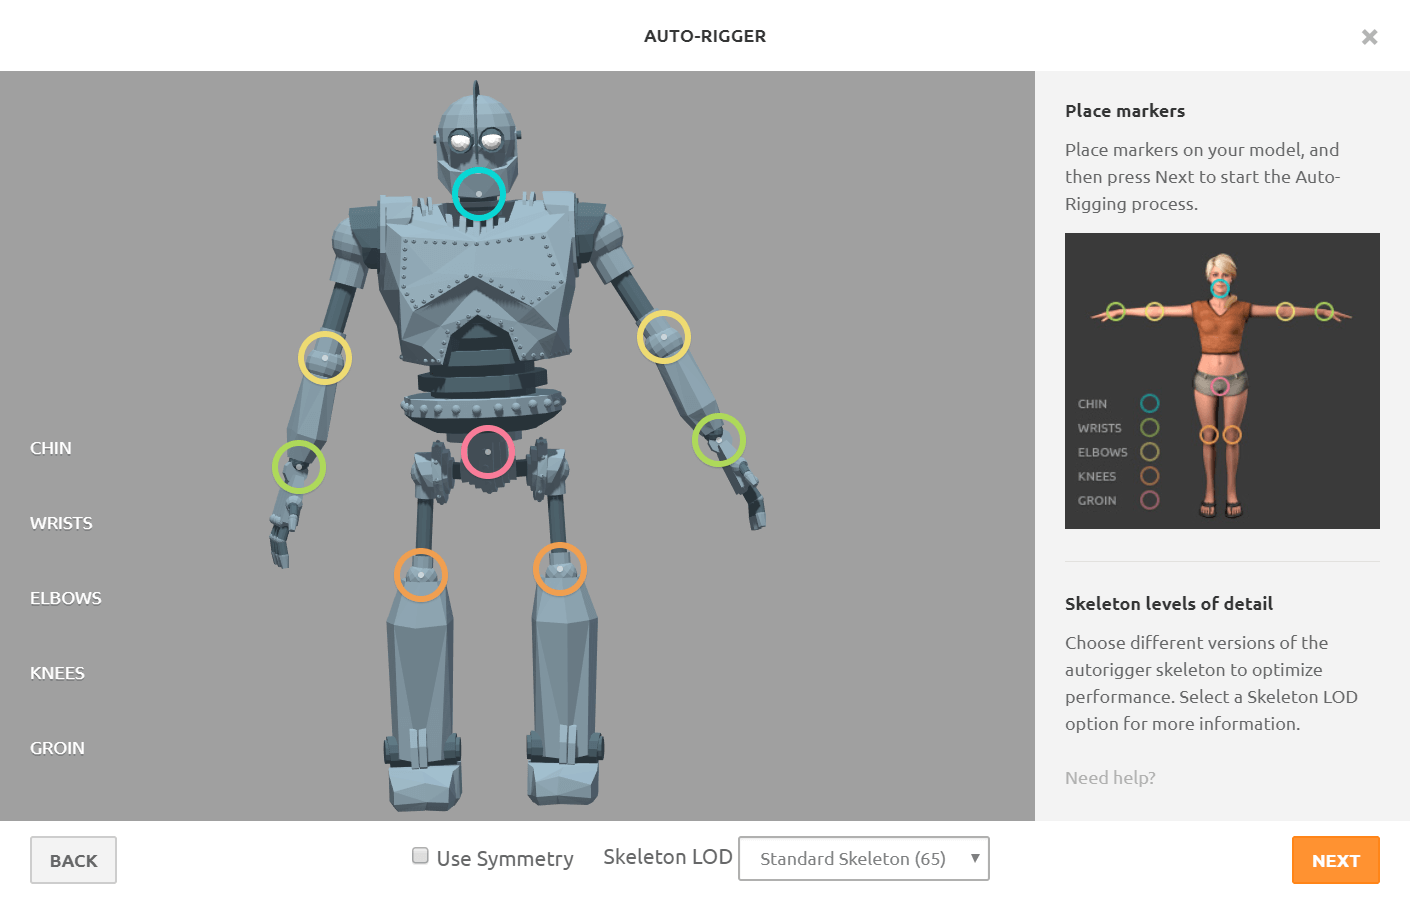
Click Next again for the auto-rigging process to begin. If everything looks good after Mixamo has rigged your character, import your character into Mixamo by clicking Next again.
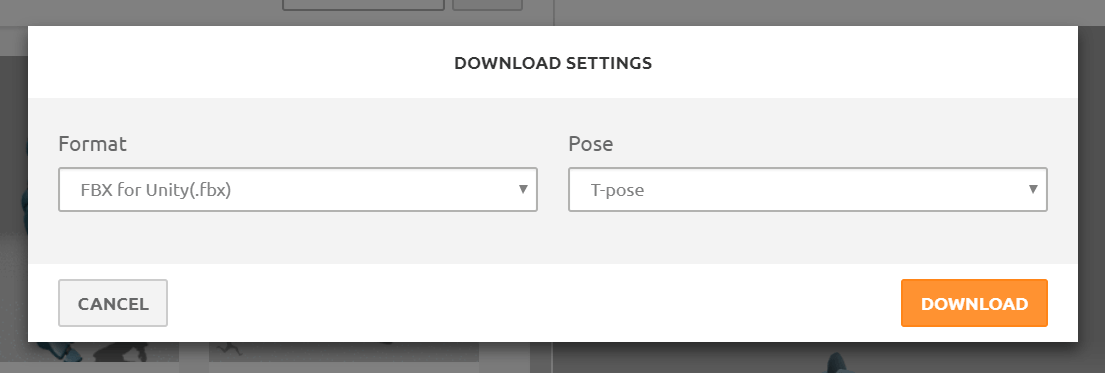
The last step is to download your newly-rigged character model. Click on the Download button in the top-right corner and leave the default options as is.
You are now ready to import your character into the Flipside Creator Tools! Here are some links to guide you through the next steps:
 Join the Community
Join the Community
Join the Community